Introduction
This post will show you how to enable the I2C (Inter-Integrated Circuit) communication protocol in your Raspberry Pi device using raspi-config or the Raspberry Pi Software Configuration Tool.
If you want to see this project in a video format then please see below. You can also watch this on my YouTube channel.
What is I2C?
I2C is a two-wire serial interface and follows the master-slave hierarchy. It uses two bidirectional lines called the Serial Data Line (SDA) and a Serial Clock Line (SCL).
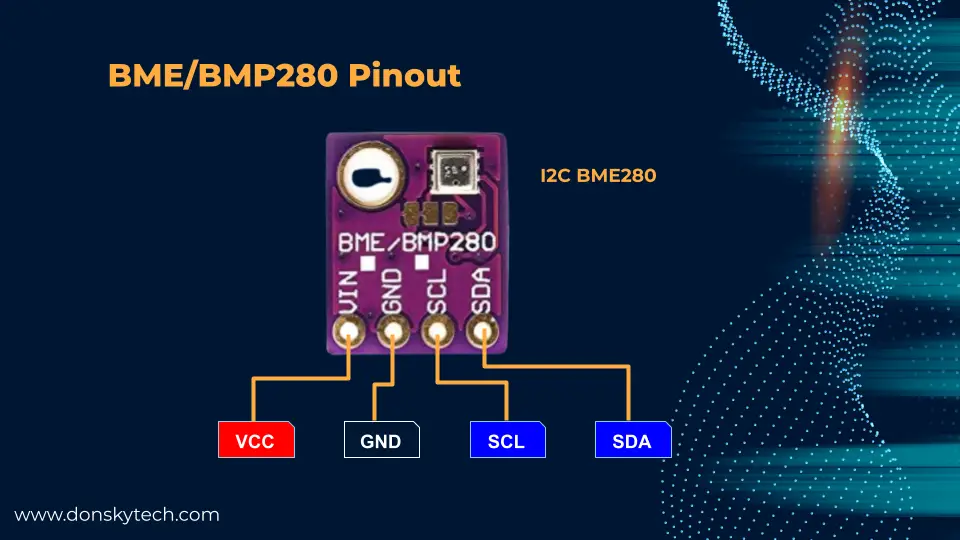
This protocol was originally developed by Philips Semiconductor for their device. Nowadays, a lot of components use this protocol due to its simplicity and the cost involved. A sample component that uses this protocol is the BME280 sensor from Bosch.
Prerequisites
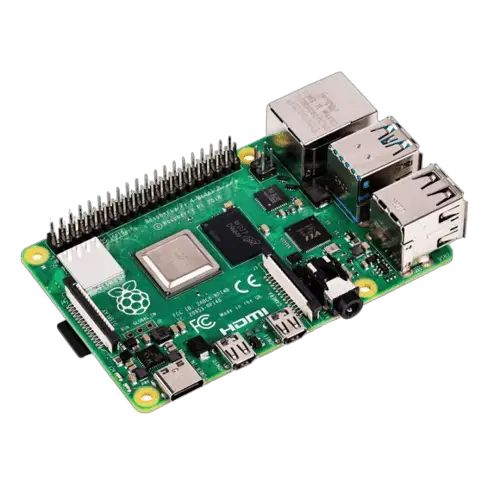
- Raspberry Pi – Amazon | AliExpress
Disclosure: These are affiliate links and I will earn small commissions to support my site when you buy through these links.
Any Raspberry Pi device like the Raspberry Pi 3, 4, or Raspberry Pi Zero or Zero W. I am using Raspberry Pi Zero W in this post but the steps are applicable to any other model.
You should have installed the latest Raspberry Pi OS on your device. I am using a headless installation where I do not need a keyboard or monitor to control my device.
Related Content:
Setup Raspberry Pi Headless No Monitor
Steps on how to enable I2C in your Raspberry Pi
- Connect to your Raspberry Pi by using SSH or Putty.
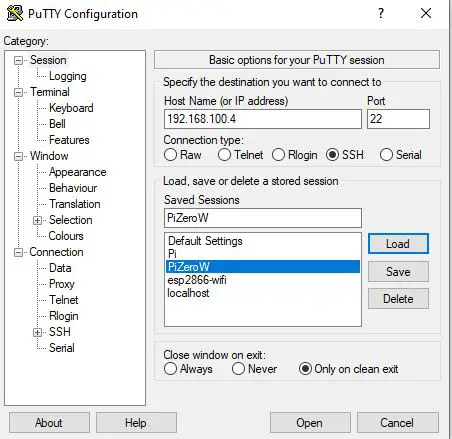
- Log in with your credentials.

- Update your Raspberry Pi as having the latest patches will improve the performance and security of your device.
sudo apt update
sudo full upgrade
sudo reboot
Related Content:
How to update Raspberry Pi
- Let’s run the raspi-config tool to enable the I2C in our Raspberry Pi.
sudo raspi-config- Select the Interface Option on the next screen.
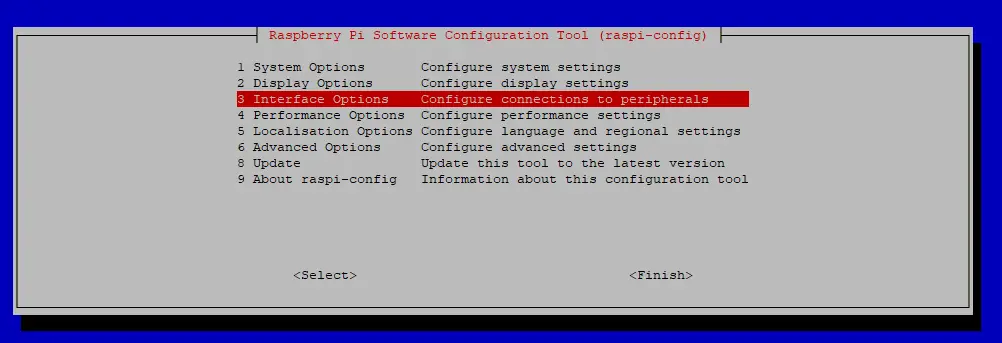
- Choose the I2C option and click the Enter Key.

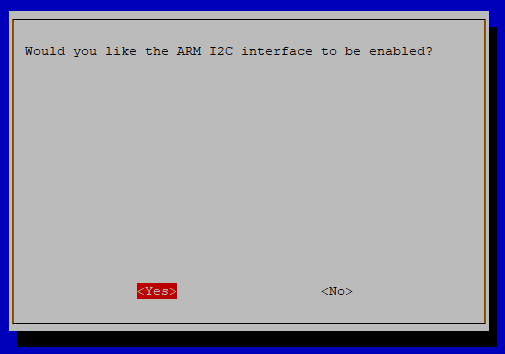
- Click the Yes button at the button of the screen when the following prompt message is shown “Would you like the ARM I2C interface to be enabled?”
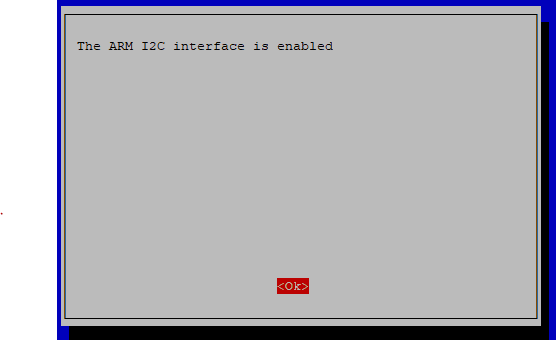
- Verify that the following message prompt is shown.
- Reboot your Raspberry Pi so that all I2C configurations can be refreshed by the operating system.
sudo rebootHow to test your I2C setup?
You can test your I2C setup by executing the below code.
pi@raspberrypi-zero-w:~ $ lsmod | grep i2c
i2c_bcm2835            16384  0
i2c_dev                16384  0
You should be seeing the following kernel modules listed in the image above.
Another option is to use a component that uses an I2C communication protocol like the BME280 temperature sensor and type in the following code.
pi@raspberrypi-zero-w:~ $ i2cdetect -y 1
     0  1  2  3  4  5  6  7  8  9  a  b  c  d  e  f
00:                         -- -- -- -- -- -- -- --
10: -- -- -- -- -- -- -- -- -- -- -- -- -- -- -- --
20: -- -- -- -- -- -- -- -- -- -- -- -- -- -- -- --
30: -- -- -- -- -- -- -- -- -- -- -- -- -- -- -- --
40: -- -- -- -- -- -- -- -- -- -- -- -- -- -- -- --
50: -- -- -- -- -- -- -- -- -- -- -- -- -- -- -- --
60: -- -- -- -- -- -- -- -- -- -- -- -- -- -- -- --
70: -- -- -- -- -- -- 76 --
The number 76 above shows my BME280 I2C address which means that it is ready to communicate with my component using the I2C protocol.
Wrap Up
I have shown how to enable the I2C configurations in your Raspberry Pi in this post using the raspi-config tool.
Related Next:
Raspberry Pi BME280 Weather Station Using Python and Flask
Raspberry Pi Object Counting using an Infrared sensor
Leave a Reply